Consulting
Service
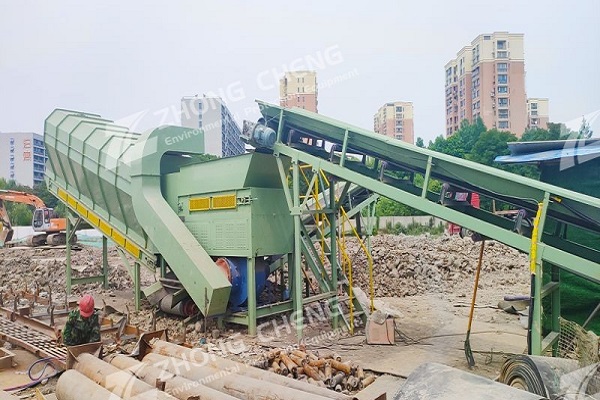
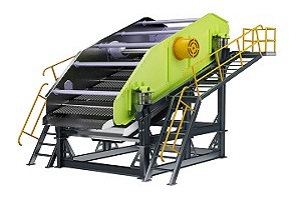
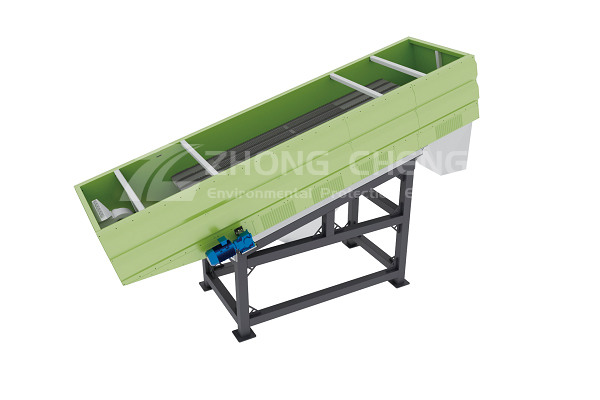
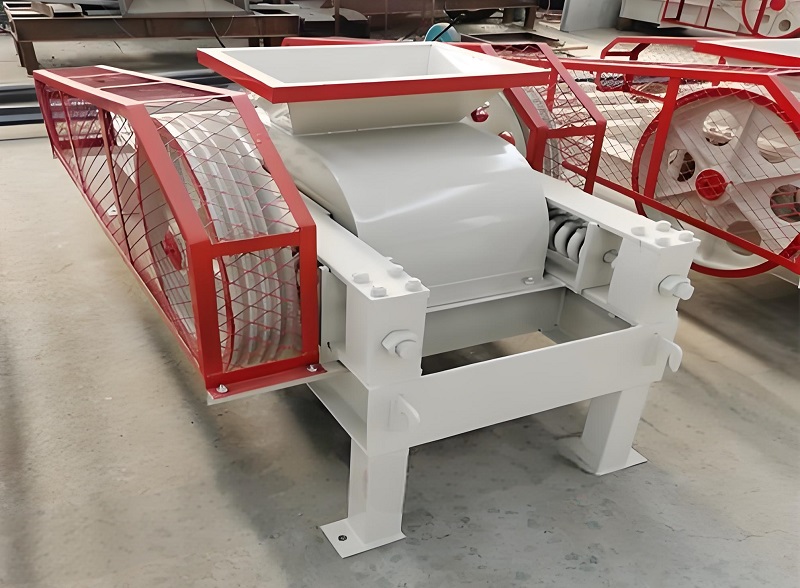
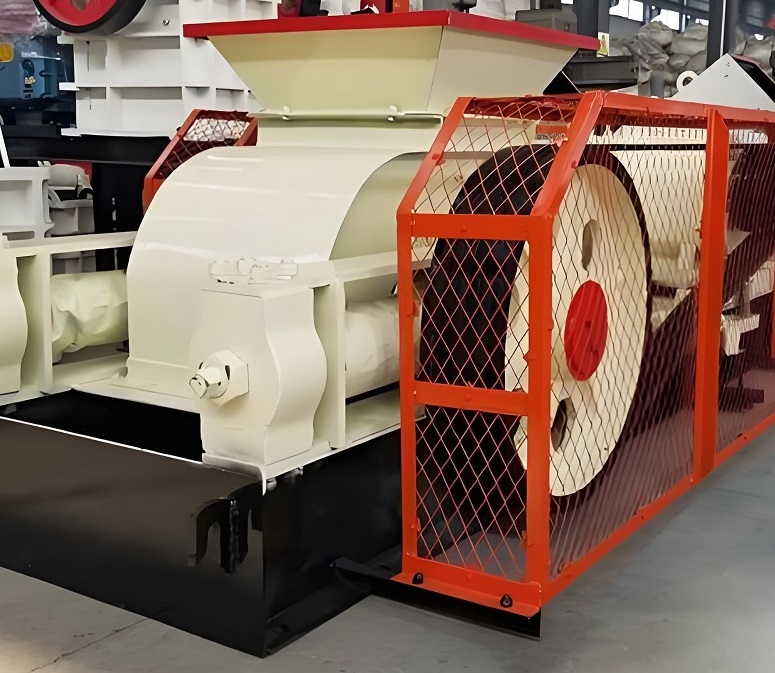
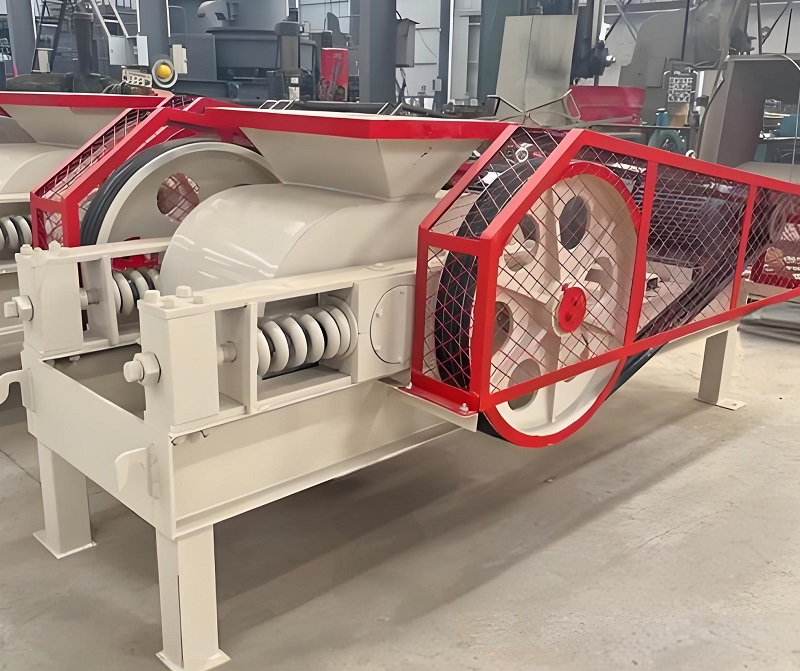
As a core piece of equipment for material crushing in industrial production, the operational stability of the double-roll crusher directly determines production efficiency, product quality, and operating costs. Under long-term high-intensity operation, problems such as dust wear, component aging, and parameter deviations can easily lead to equipment failure. Therefore, scientific daily maintenance and standardized repair operations are crucial. This article, based on the equipment's structural characteristics, focuses on key points of daily maintenance such as cleaning, lubrication, and inspection, detailing core component repair techniques, troubleshooting solutions, and safety regulations. It provides operators with systematic maintenance guidance to help reduce the failure rate, extend equipment lifespan, and ensure continuous and efficient production.
A. Key Points of Daily Maintenance (Daily/Weekly Execution)
1. Cleaning and Maintenance: Reducing Dust Wear Dust generated during crushing operations easily adheres to equipment surfaces, bearing clearances, and transmission components, requiring the establishment of a routine cleaning mechanism. After each day's operation, use a high-pressure air gun or brush to clean residual material from the frame, roller surfaces, feed inlet, and discharge channel to prevent material from hardening and affecting subsequent operation. Perform a deep cleaning of the equipment's interior weekly, focusing on cleaning the adjusting device's lead screw, coupling gaps, and the sensor surfaces of safety protection devices to prevent dust accumulation that could cause adjusting malfunctions or false triggering of protection devices. During cleaning, the power must be turned off and a "Do Not Operate" sign must be displayed. Avoid direct contact of the high-pressure air gun with seals and electrical components to prevent damage to the sealing structure or short circuits.
2. Lubrication Management: Extending Component Life
Lubrication is crucial for reducing equipment wear and ensuring transmission efficiency, and must strictly adhere to the principles of "timely, quantitative, and quality lubrication." Key lubrication points include roller bearings, reducers, couplings, and adjusting device lead screws. Different parts require different lubricants: lithium-based grease (model L-AN46) for bearings, industrial gear oil (model N320) for reducers, and anti-rust grease for lead screws. Before starting the machine each day, check the oil level in the lubrication points to ensure it is in the middle of the scale mark. Add grease weekly and change the gear oil every 3 months, draining the old oil and cleaning the oil tank before replacement. Control the oil volume during lubrication to avoid over-lubrication leading to oil leaks and environmental pollution, and to prevent insufficient oil causing dry friction and wear.
3. Daily Inspection: Promptly Identify Potential Problems Conduct three comprehensive inspections daily: before starting, during operation, and after shutdown, establishing a "listen, look, touch, and measure" inspection system. Listen to the equipment's operating noise; there should be no sharp abnormal noises during normal operation. Metallic impact sounds may indicate material jamming on the rollers or bearing damage. Inspect the equipment's appearance, checking for frame deformation, leaking seals, and cracks or excessive wear on the roller surfaces. Feel the temperature of the bearing housings and reducer housing; normal temperatures should be below 60℃. Rapid temperature increases may indicate poor lubrication or overload operation. Measure operating parameters; observe the motor current and roller speed through the control cabinet to ensure they are stable. If current fluctuations exceed ±10%, stop the machine and investigate the cause. Weekly key checks include the accuracy of the adjustment device gap and the sensitivity of the safety protection devices to ensure that all equipment parameters meet operational requirements.
B. Core Component Maintenance Technical Specifications
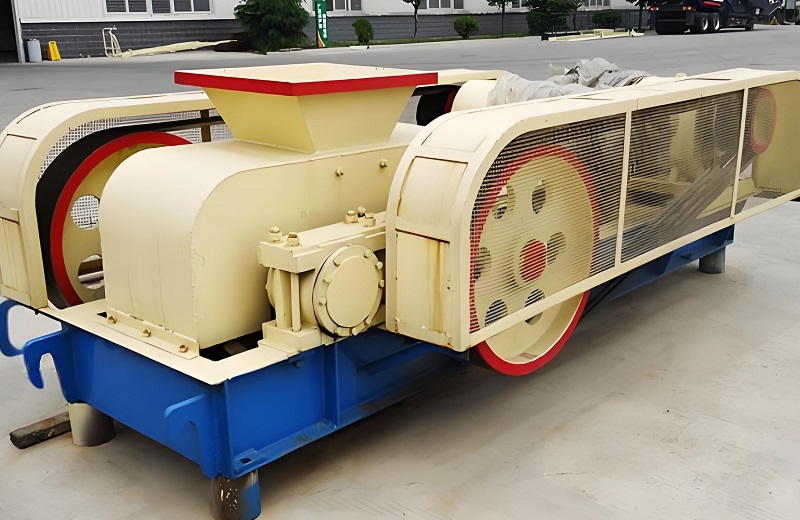
1. Roller Assembly Maintenance
The roller is a core component that directly contacts materials and is prone to wear, cracks, and tooth damage. Maintenance should be carried out according to the following steps:
Wear Repair: When the roller wear exceeds 5mm or uneven wear appears on the surface, it can be reused by flipping (applicable to smooth rollers) or repaired by welding. Before welding, the roller surface must be cleaned to remove rust and fatigue layers. Wear-resistant welding wire (such as D707) should be used for welding. After welding, machining is required to ensure that the roller diameter tolerance is within ±0.1mm and the surface roughness Ra≤1.6μm.
Crack Treatment: If cracks appear on the roller, non-destructive testing (such as magnetic particle testing) must be performed first to determine the crack depth. Cracks less than 3mm can be repaired by welding; cracks greater than 3mm require replacement of the roller. When repairing welding, the roller shaft must be preheated to 200-300℃. After welding, it should be slowly cooled to room temperature to avoid welding stress that could lead to crack propagation.
Bearing Replacement: When a bearing exhibits abnormal noise, excessive temperature, or increased rotational resistance, it must be replaced promptly. During replacement, first remove the bearing housing end cover, remove the old bearing, and clean any impurities from inside the bearing housing. Before installing the new bearing, apply grease. Use a heat-fitting method (heat the bearing to 80-100℃) during installation to avoid damaging the bearing by force. After installation, check the bearing clearance to ensure it is within the range of 0.02-0.05mm.
2. Transmission System Repair
Transmission system faults mainly occur in the reducer, coupling, and motor. Repairs require targeted handling:
Reducer Repair: Common faults include gear wear, oil leaks, and abnormal noise. Gears must be replaced when wear exceeds 15% of the tooth thickness, ensuring a gear meshing clearance of 0.2-0.3mm during replacement. Oil leaks are often caused by aging seals; replace the oil seal or gasket and check the oil level. Abnormal gear noise may indicate poor lubrication or gear meshing misalignment; add lubricant or adjust gear meshing accuracy.

Coupling Repair: Couplings are prone to issues such as aging elastic pads, loose bolts, or breakage. Replace aging elastic pads promptly with the same type of rubber elastic pad. Tighten loose bolts regularly, following the equipment manual's specifications (usually 25-30 N·m). Replace broken bolts with high-strength bolts. After replacement, correct the coupling's coaxiality; deviation should not exceed 0.1mm.
Motor Repair: Common motor faults include overload burnout and bearing damage. Overload burnout is often caused by material blockage or motor operation with a single phase. The load problem needs to be investigated and the motor coil replaced. For damaged bearings, follow the aforementioned bearing replacement specifications, and simultaneously check the motor insulation performance; the insulation resistance should be greater than 1MΩ.
3. Maintenance of Adjusting Devices and Safety Protection Devices
Regulating Device Maintenance: If the manual adjusting device's lead screw is stuck or malfunctioning, clean impurities from the lead screw surface and apply grease. If the lead screw threads are severely worn, replace the lead screw. If the hydraulic adjusting device leaks oil, check the cylinder seals and oil pipe joints, replace aged seals, tighten joints, and replenish hydraulic oil (model L-HM46) to ensure the hydraulic system pressure is stable at 10-15MPa.
Safety Protection Device Maintenance: When the overload protection device is falsely triggered, check the torque limiter or hydraulic safety valve setting and recalibrate it according to the equipment's rated load. If the dust seal fails, replace the labyrinth seal ring and sealing felt to ensure the sealing gap is less than 0.1mm. If the emergency braking device malfunctions, check the brake coil and brake pads, replace damaged parts, and test the braking response time to ensure braking is completed within 0.5 seconds.
C. Maintenance Safety Precautions: All maintenance work must be performed after the equipment is stopped and the power is disconnected. A "Do Not Operate" sign must be displayed to prevent accidents caused by misoperation.
When working at heights (such as inspecting the top of the frame), safety belts must be worn. When disassembling heavy components (such as rollers and reducers), lifting equipment must be used to avoid damage caused by manual handling.
Tools used during maintenance must meet safety standards. Electrical maintenance must be performed by a qualified electrician to prevent electric shock.
Replaced used parts (such as lubricating oil and seals) must be disposed of according to environmental protection requirements to avoid environmental pollution.
After maintenance, a trial run is required. Run the equipment unloaded for 30 minutes without any abnormalities before proceeding with load operation to ensure all equipment performance standards are met.
Maintenance of the double-roll crusher should adhere to the principle of "prevention first, standardized maintenance." Daily cleaning and dust prevention, precise lubrication, and full-process inspections can effectively avoid potential hazards. Strict control of process standards is necessary for the maintenance of core components. Targeted solutions should be developed for wear and malfunctions in key parts such as the rollers and transmission system, combined with a regular maintenance schedule to achieve standardized management. Standardized maintenance not only reduces equipment failure rates and improves operating efficiency but also reduces maintenance costs and safety risks. Following the technical specifications and safety requirements described in this document can fully leverage the equipment's performance advantages and provide reliable assurance for the stable operation of industrial production.


Company: Zhengzhou ZhongCheng environmental protection equipment co., LTD

Company address: 36 xueyuan road, Zhengzhou City, Henan Province, China.

Whatsapp:+86-18738194110


Our Email

Our phone
 86-18738194110
 86-18738194110

Save Time! Get A Detailed Quotation Quickly.


 2026-04-22